I’ve been thinking about extending my home for some time and I’ve liked the idea of installing some mood lighting. One of my main aims of my home automation is to have one controller, device, a “single pain of glass” to do everything. I don’t want to have to use one remote for one thing and another for something else. So as soon as I had upgraded to my Fibaro HC2 I decided to do a min project to see how the RGBW controller worked and how I could use them later in the extension.
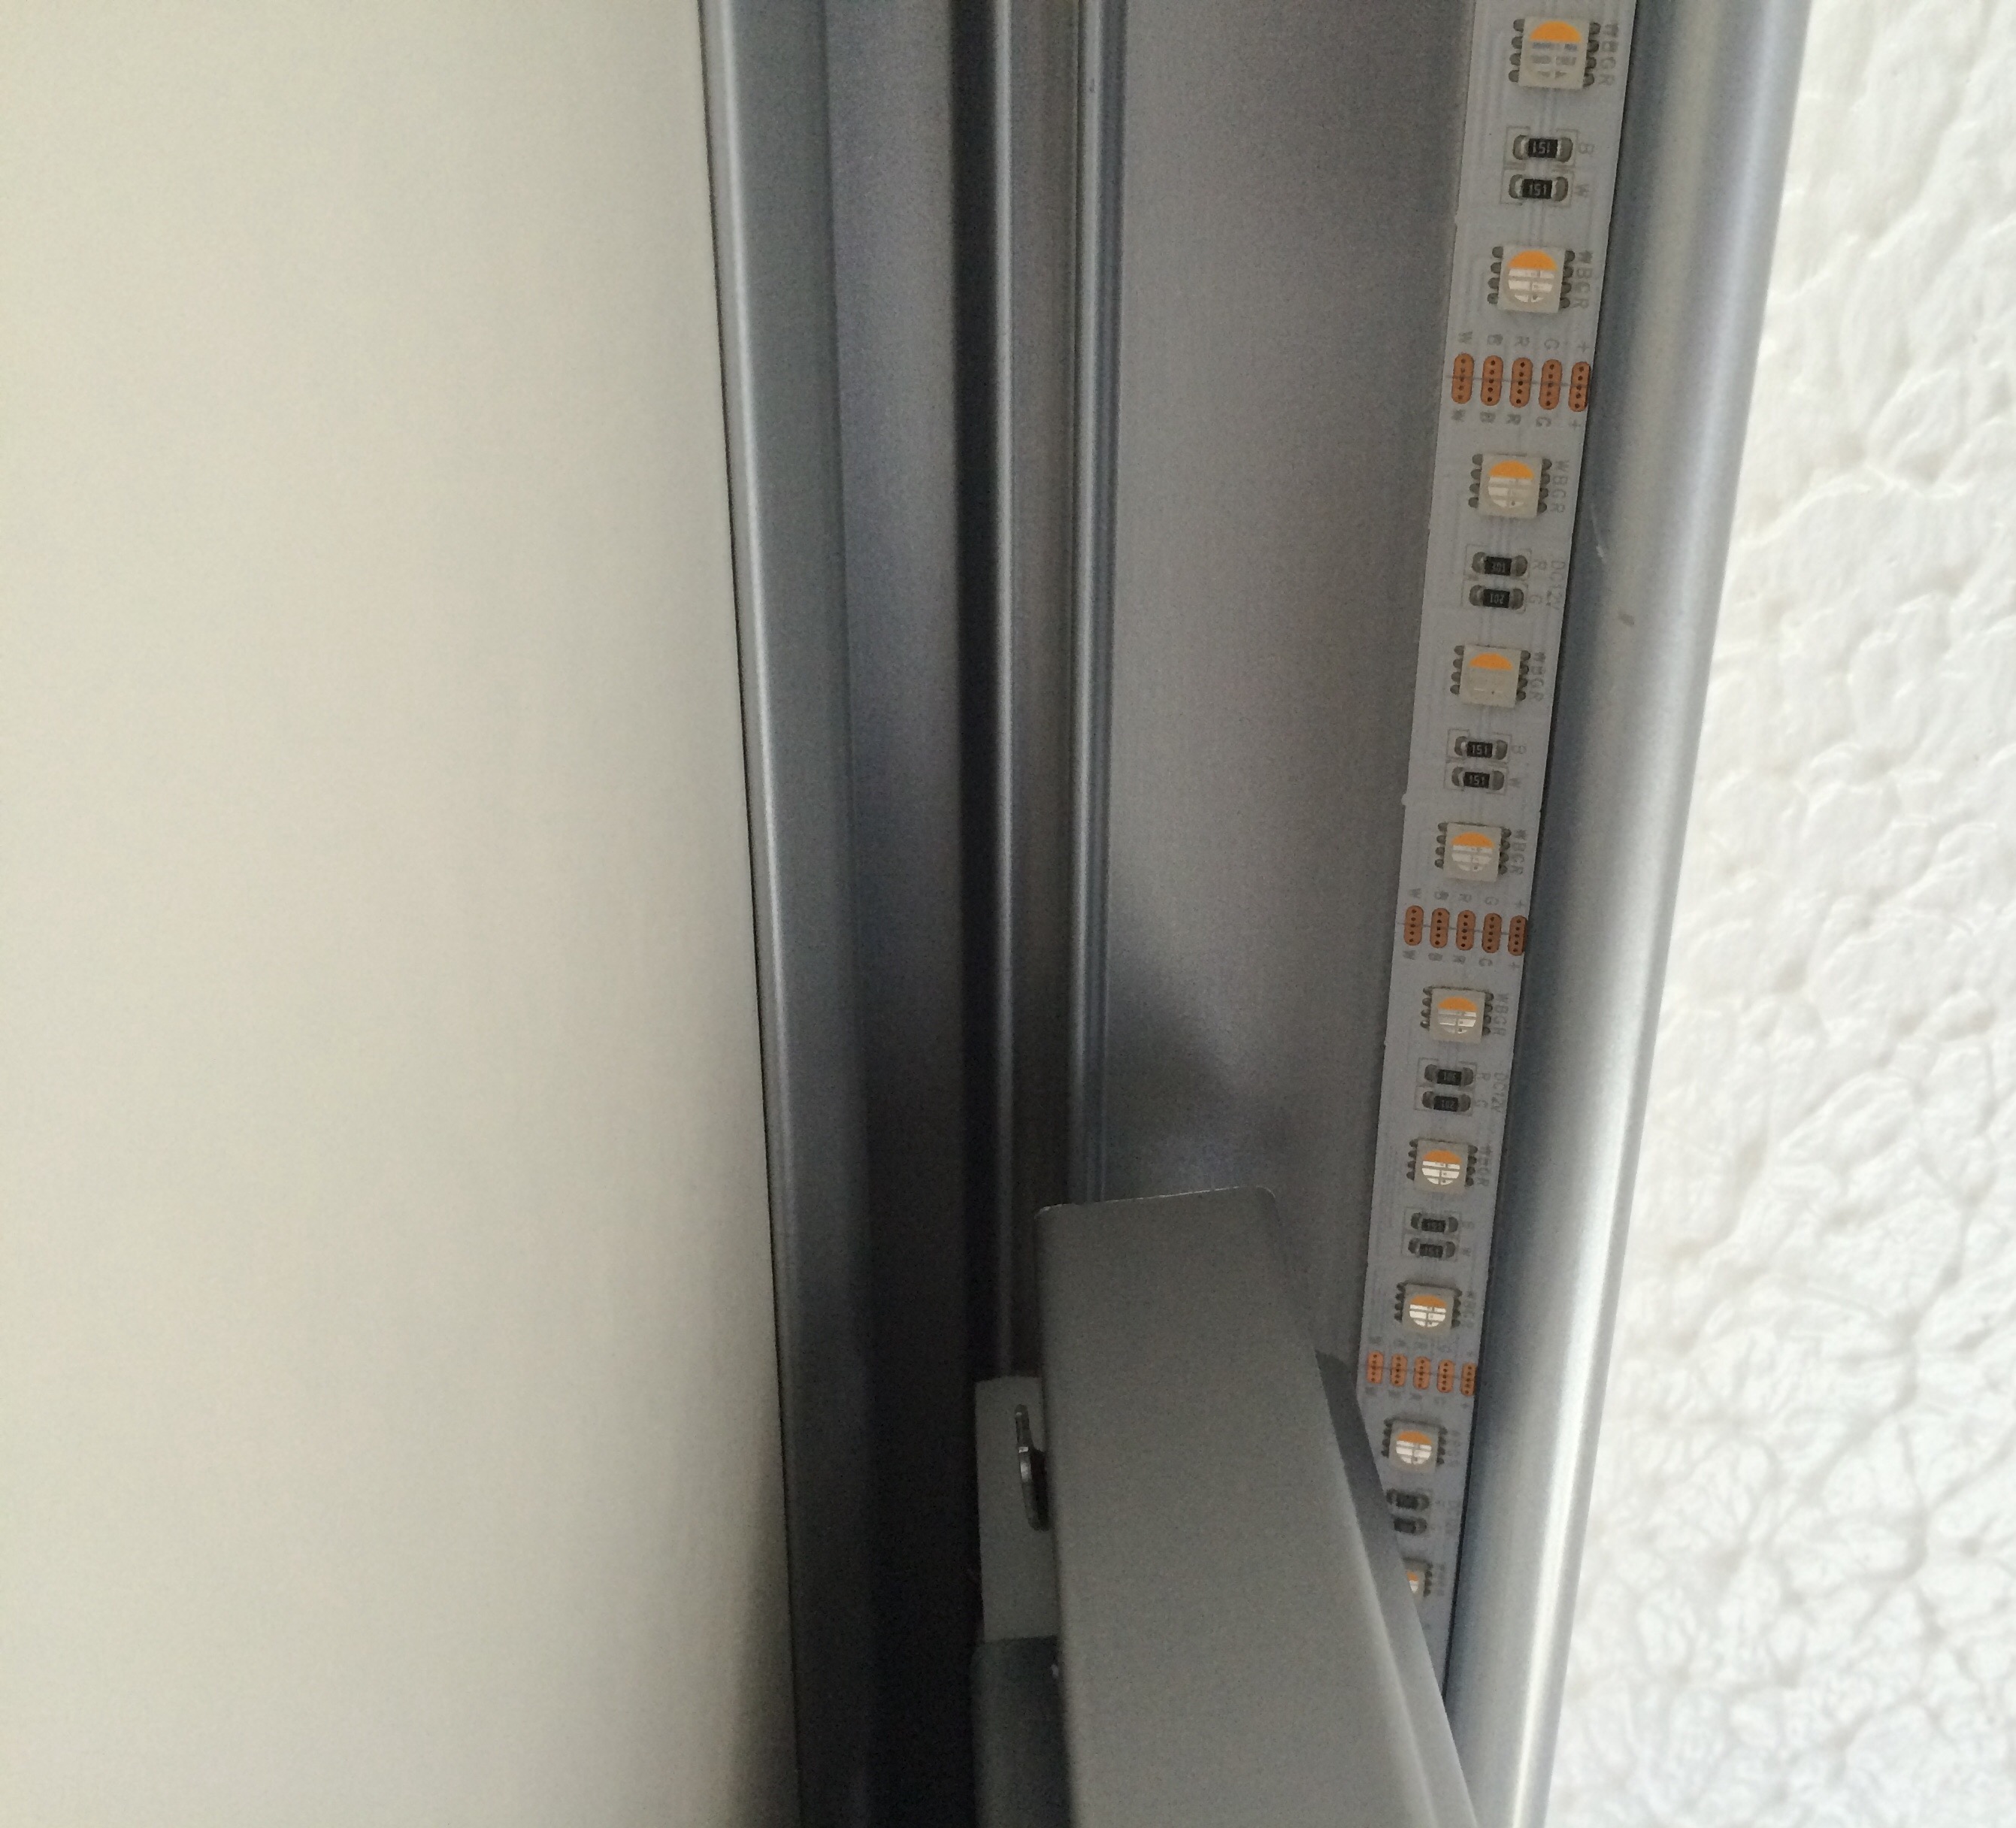
I have some sliding wardrobe doors that have a lip that hides the track at the top, the perfect place to hide a strip of RGBW LEDs.
One thing I’d not realised when I ordered was that the Fibaro RGBW controller is 12V, makes sense really. So once I’d sourced a suitable 12v power supply I was off. The PSU and the fibaro RGBW controller fitted into a UK deep double socket surface mount box quite neatly.

I was also lucky that I had a power socket tucked away at the back of the wardrobe.

So with it all powered up, connected into the HC2 I was ready to test. For the time being and I may leave it like this, I have not added any physical switches, so I control it all through my iPhone or iPad using the Fibaro App. I’m really happy with the results. The images don’t really show off the results that well. I’ll try and get some better ones.


Have you done anything such as only making the accent lighting come on in the evening and go off at a later time in the night/morning ?
I find the HC2 scripting can get messy when you need to make lots of global variables to store your scenes “state” rather than just sticking a scene in to a loop until a time occurs.
LikeLike
No not yet, although it is on my list. I have done a very basic scene that slowly increases the light at a given time. Acts as an alarm clock, but nothing cleaver.
LikeLike